Sinisistar 2 Map – Every Area, Boss and Secret Revealed
If you're looking for the Sinisistar 2 map, you've come to the right place. This complete guide provides a detailed look at every area, boss location, and secret item in the game. Whether you are searching for the elusive sinistar 2 map, trying to navigate the complex sinisistar2 map layouts, or just want to find all the sinisistar 2 maps to complete your gallery, our guide covers it all. Navigate Alsezon with ease using our tactical layouts.
Sinisistar 2 Area Map Overview
The world of Alsezon is vast and interconnected. Below is the complete area map overview.
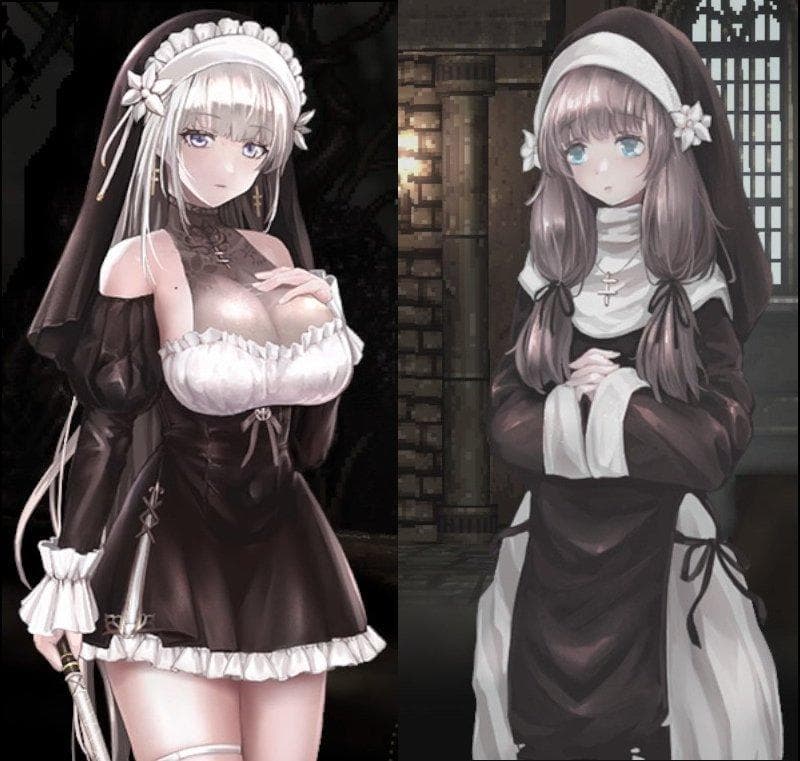
1. Alsezon Town | 2. Graveyard Road | 3. Blood-Drinking Swamp | 4. Demi-human Base | 5. Cathedral
Every Area Explained
Area 1 – Alsezon Town
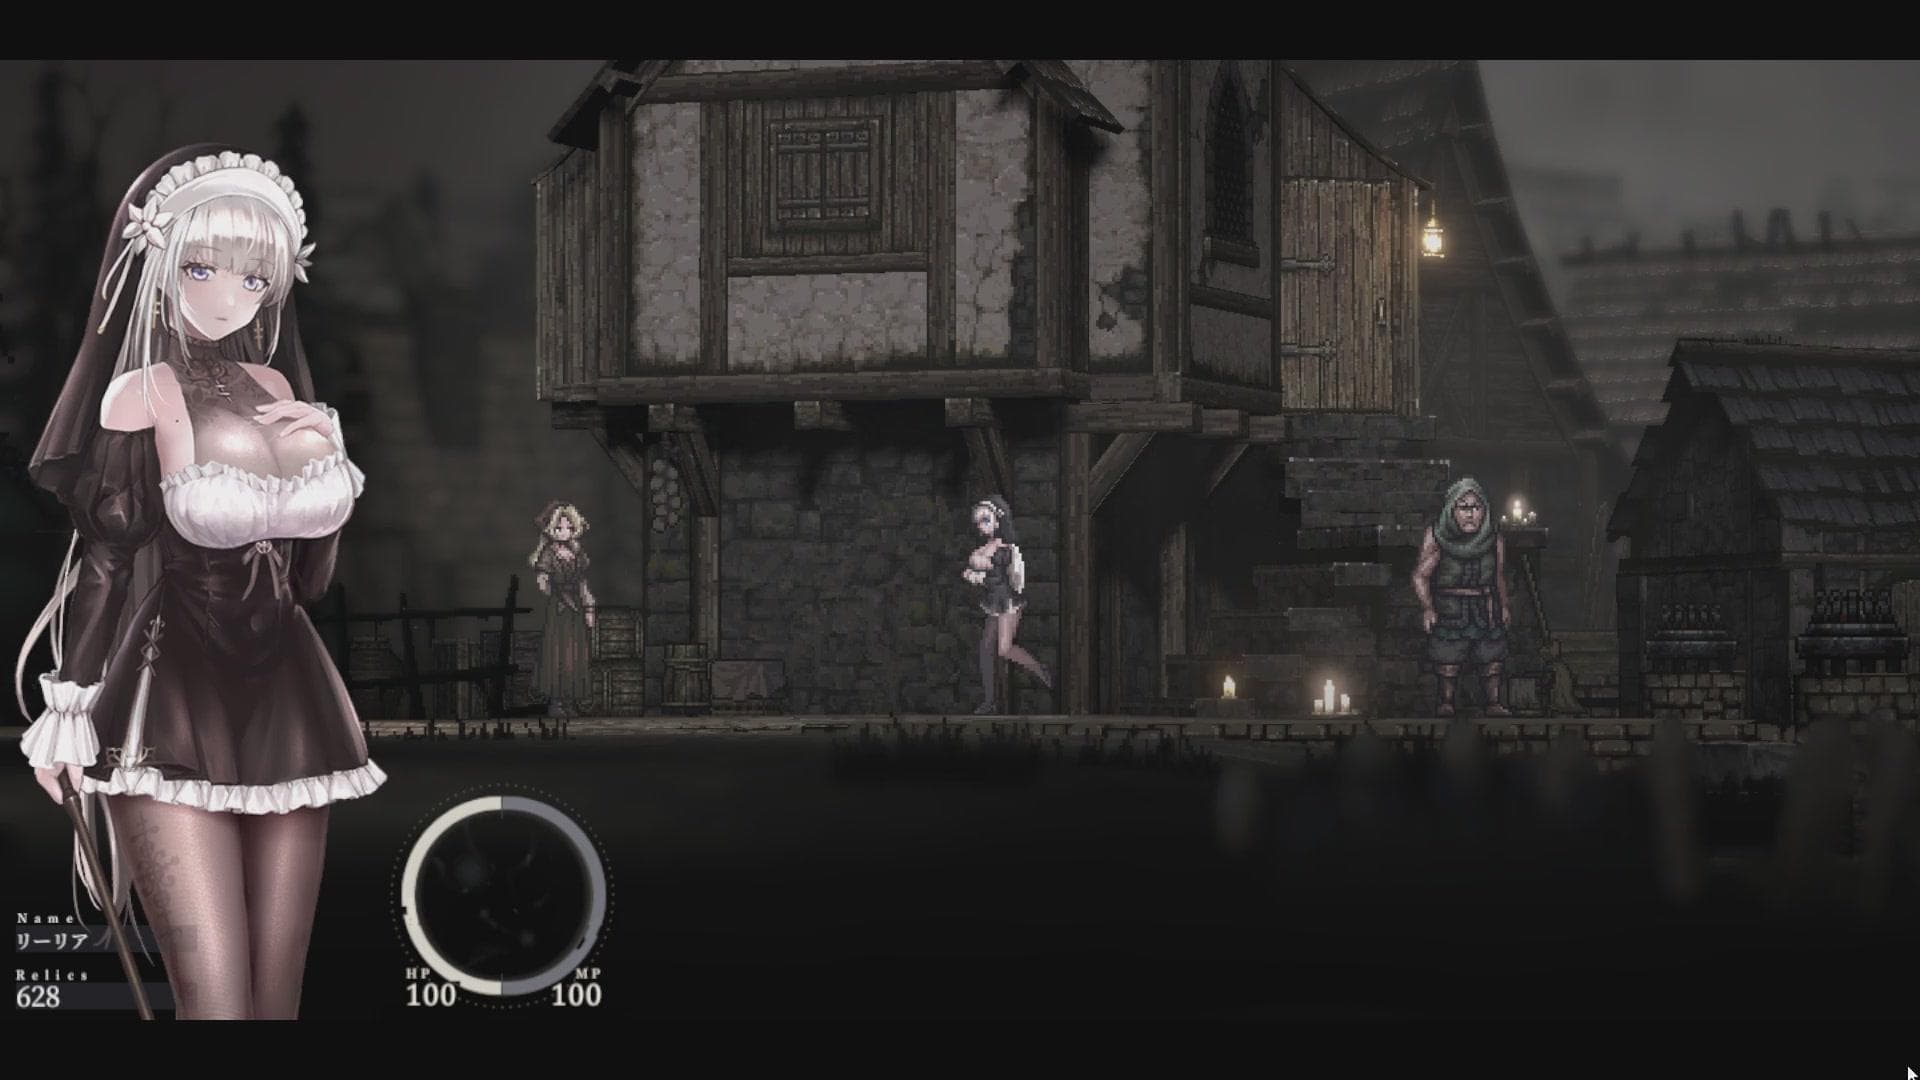
The central hub of the game. It serves as your safe zone where you can save, respec, and purchase supplies at the Tavern. There are no enemies here, and the exit leads directly to the Graveyard Road. Exploration Route & Order: Start by visiting the Monastery to unlock your basic upgrade paths. Next, scour the Tavern and speak to every NPC—their dialogue updates after major story events and can provide critical hints for secret items. Finally, check the merchant's stock for early healing items before venturing east into the Graveyard.
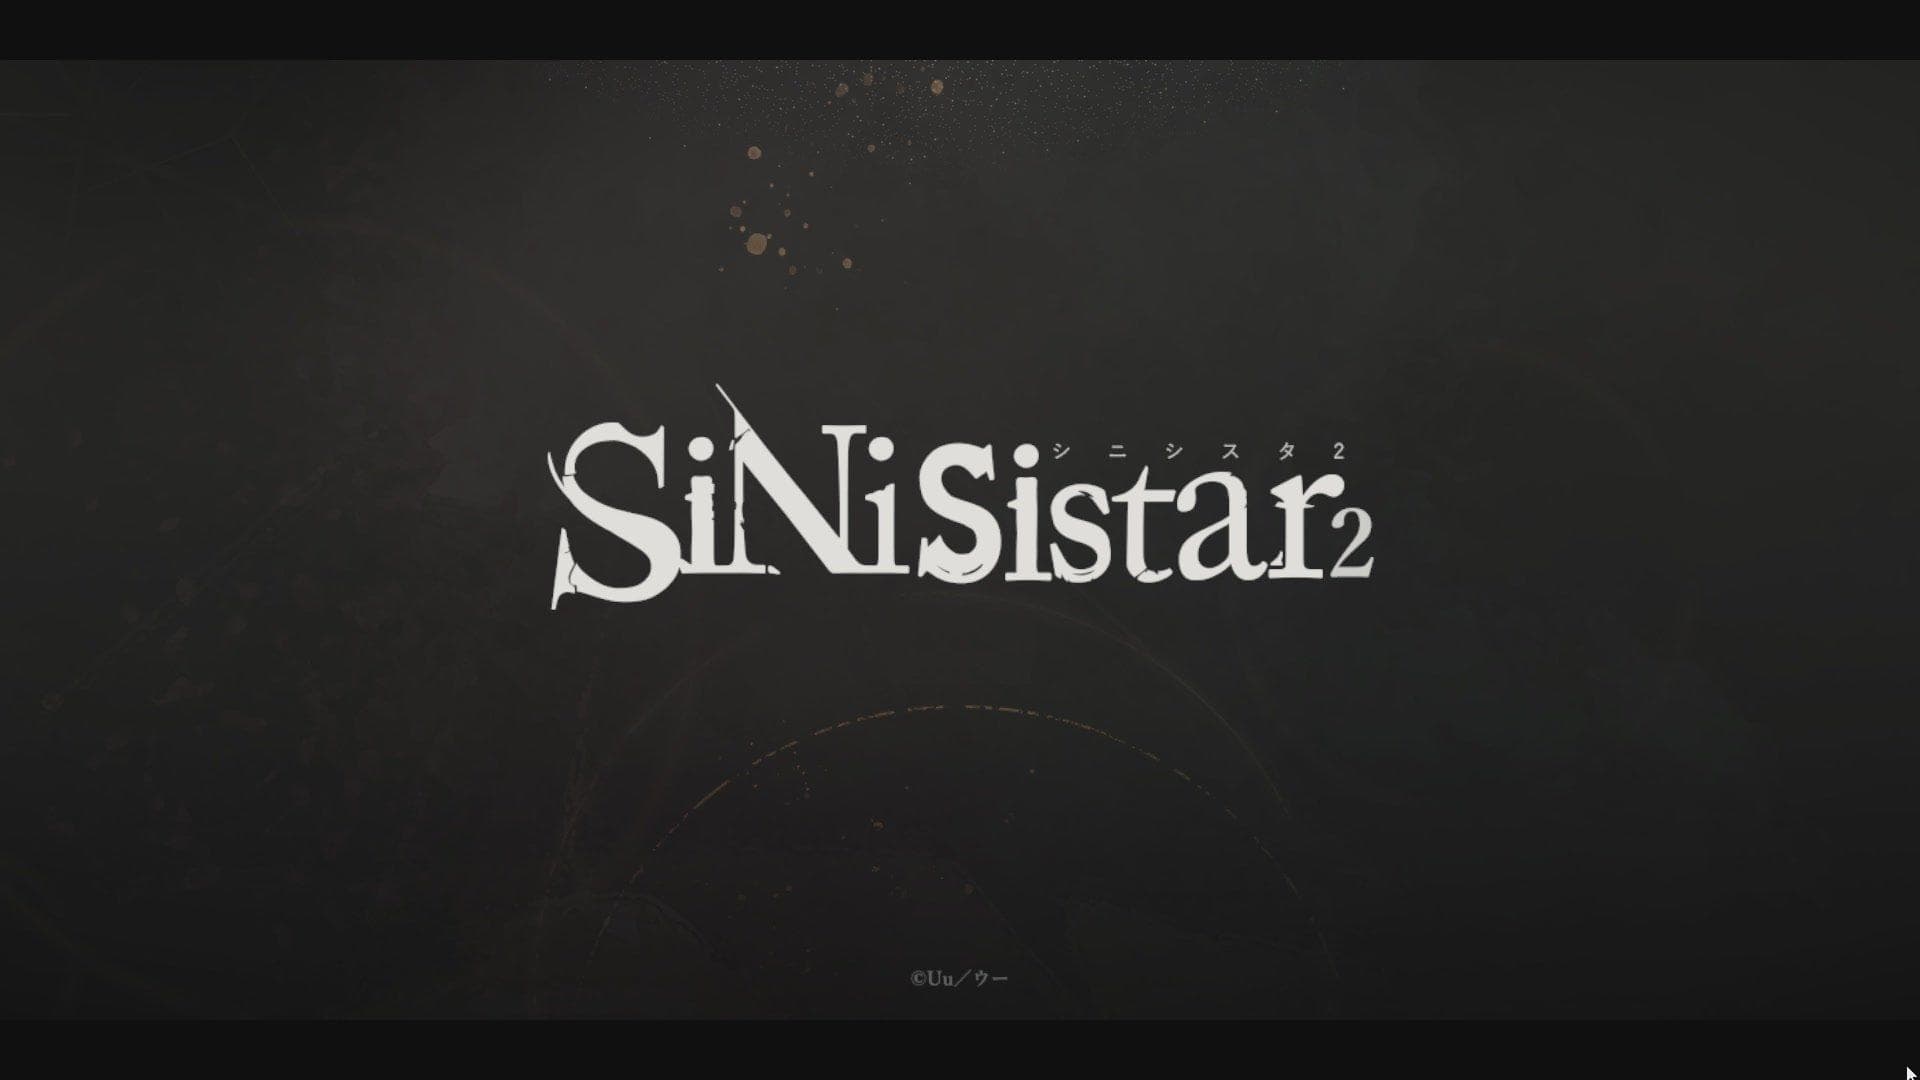
Area 2 – Graveyard Road
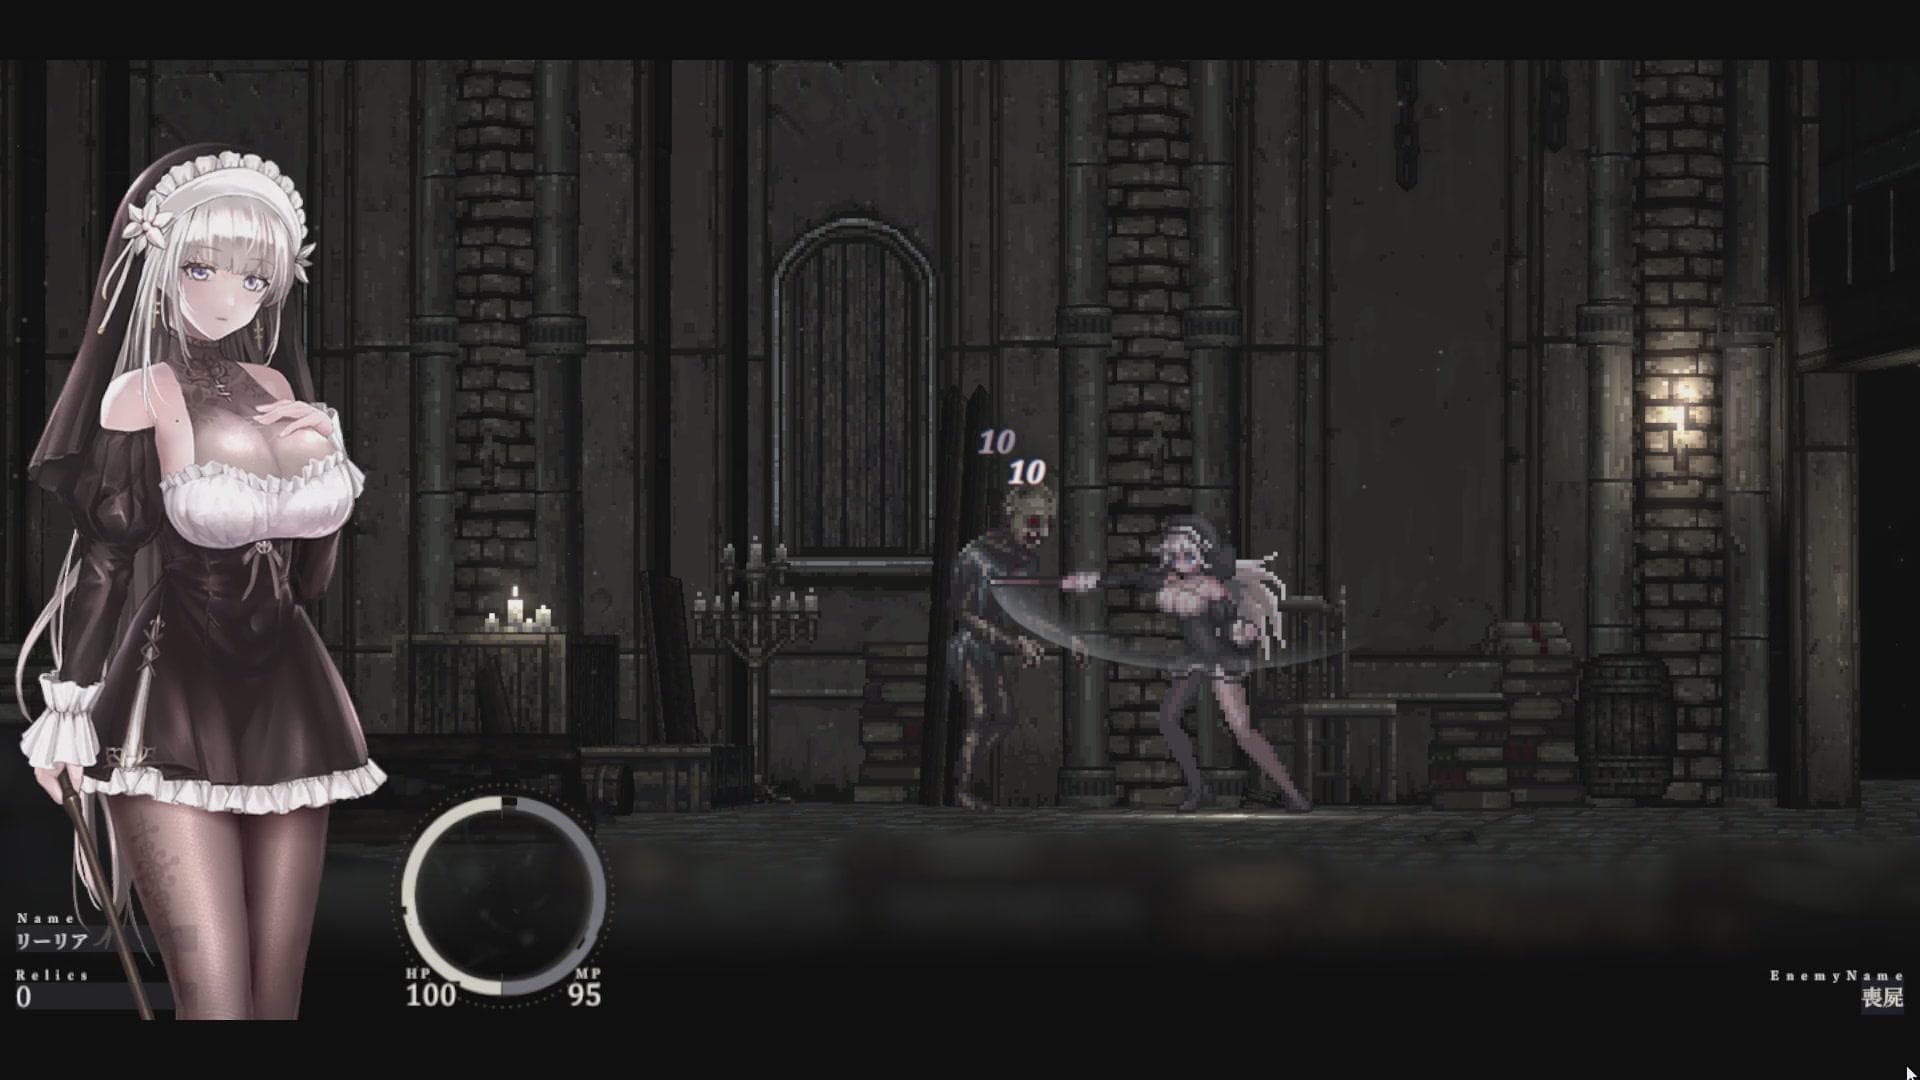
A perilous path filled with basic zombie enemies. The terrain is relatively flat, but watch out for ambush points. Proceed east to reach the swamp. Exploration Route & Order: Clear the main path first using ranged attacks to safely deal with zombies before they close the distance. Once the primary threats are handled, backtrack slightly and examine the background elements—some tombstones can be shattered to reveal hidden underground pathways containing minor relics and extra currency.
Area 3 – Blood-Drinking Swamp
A hazardous zone with deep mud that slows movement and leeches that inflict poison. Keep to the wooden platforms and use ranged magic. Exploration Route & Order: Your first priority should be navigating the precarious wooden platforms to find the first Goddess Statue for a safe checkpoint. Avoid the deep mud at all costs unless you spot a glowing item; if you do fall in, quickly jump to the nearest solid ground to prevent rapid defilement build-up from the swamp leeches. Equip any poison-resistance gear before tackling the eastern boss arena.
Area 4 – Demi-human Base
A highly vertical area requiring precise platforming. Watch out for overhead traps and sudden reinforcements. Activating the central elevator creates a shortcut back to Alsezon Town. Exploration Route & Order: Begin by carefully scaling the outer scaffolding, constantly panning your camera upward to spot hanging enemies before they drop on you. Make a beeline for the central control room to activate the elevator shortcut—this is crucial as the area lacks frequent checkpoints. Once the shortcut is secure, you can safely explore the lower holding cells for missed loot.
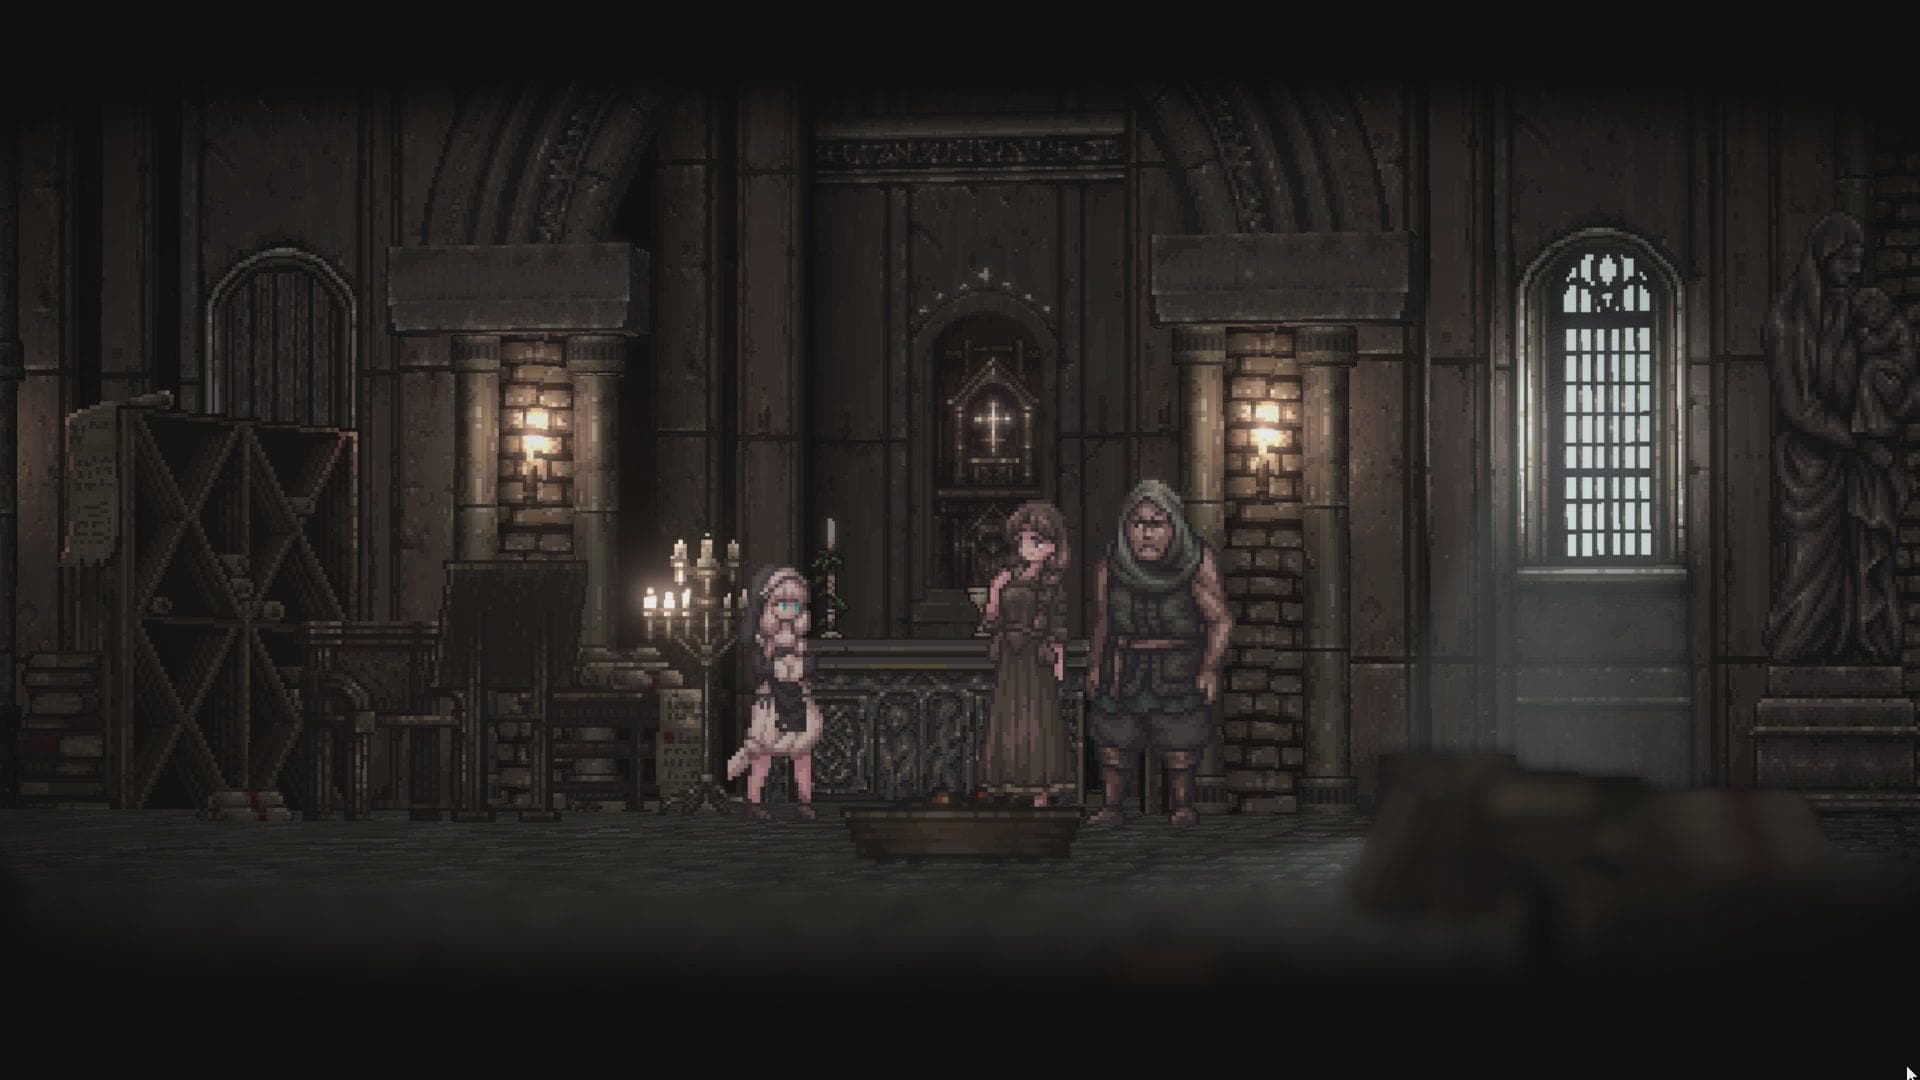
Area 5 – Alsezon Cathedral
The final dungeon featuring the Library, Archive, and the Top Floor. Navigating this area requires mastering the Owl Magic to avoid laser traps. Exploration Route & Order: In the initial Library section, take your time to memorize the patrol patterns of the heavily armored inquisitor enemies rather than rushing. Conserve your mana, as you will need a full bar to bypass the brutal sequence of laser traps in the Archive. Secure the final save point at the Top Floor before engaging the ultimate encounter.
All Boss Locations & Strategies
Finding all the sinisistar 2 boss locations is crucial for completing the game and unlocking gallery scenes. Below is a breakdown of where to find them and how to defeat them.
Gravekeeper
Location: Graveyard Road
Recommended Level: Lv. 5+
Trigger: Reaching the end of the graveyard path.
Reward: 100 Relics & Graveyard Key.
Combat Tactics: Watch closely for his telegraphed shovel slam. Dodge roll behind him the moment his arms raise, giving you a generous window for guaranteed safe hits before he recovers.
Pig King (Secret Boss)
Location: Northern Farmstead (Hidden Area)
Recommended Level: Lv. 12+
Trigger: Entering the large barn area and interacting with the trough.
Reward: Special defeat CG and large Relic drop.
Combat Tactics: This boss is highly aggressive and will attempt to trample you. Position yourself behind the sturdy wooden pillars in the barn to block his charge attacks, then strike rapidly while he is momentarily stunned from the impact.
Swamp Child
Location: Blood-Drinking Swamp
Recommended Level: Lv. 18+
Trigger: Stepping onto the central mud arena.
Reward: "Defilement" Tachie poses & Swamp Catalyst.
Combat Tactics: Stay out of the toxic water at all costs! Only engage with melee attacks when the boss fully surfaces onto the wooden platforms; otherwise, rely heavily on your upgraded ranged magic to chip away its health safely from a distance.
Outer One (Final Boss)
Location: Cathedral Spire
Recommended Level: Lv. 30+
Trigger: Reaching the very top of the Cathedral after the Archive.
Reward: True Ending (if Scivias Powder is used) or Standard Ending.
Combat Tactics: A grueling, endurance-testing multi-phase fight. Strictly conserve your healing items during the predictable first phase, and prepare to extensively use your Owl Magic mobility to swiftly dash through the screen-wide laser sweeps in the chaotic second phase.
Chests & Collectibles Guide
If you're hunting for sinisistar 2 chests, here are the most important ones and their exact map coordinates:
- Piercing Arrow:
Location Details: Found in a heavily guarded chest near the first Goddess Statue in the Blood-Drinking Swamp (Coordinates: East side of the first mud pool, behind the thick vines).
Reward Usage: This ranged weapon upgrade is excellent for clearing lined-up enemies in narrow corridors, saving you precious mana in the long run. - Owl Magic:
Location Details: Located in an ornate chest at the far South-East dead end of the Demi-human Base, guarded by two elite sentinels.
Reward Usage: Absolutely essential for late-game traversal; it grants an air-dash ability needed to cross large gaps and effortlessly dodge wide-sweeping boss attacks. - Memory Wimble:
Location Details: Hidden inside a locked chest in the dilapidated abandoned house on the right side of Graveyard Road (requires the Graveyard Key from the Gravekeeper).
Reward Usage: A crucial narrative item required for unlocking specific hidden lore entries in the gallery and piecing together the true story.
Secret Areas & Hidden Items
Discovering sinisistar 2 secrets can drastically alter your gameplay experience. Keep an eye out for these obscure locations:
- Antidote Relic:
Location Details: Hidden behind a structurally weak, breakable wall in the northernmost section of the deep swamp.
Reward Usage: Equipping this relic greatly reduces passive poison damage and slows the accumulation of the defilement meter in toxic environments. - Far-sight Relic:
Location Details: Found in a hidden chest nestled atop the highest bookshelf in the Cathedral Library, requiring precise platforming to reach.
Reward Usage: Substantially increases the lock-on and effective range of all your offensive magic spells. - Seere Encounter:
Location Details: Located in the desolate courtyard just outside the Demi-human Lair.
Reward Usage: Use the Scivias Powder exactly between the two towering black marble pillars to summon the secret boss Seere, which drops the ultimate crafting material upon defeat.
Sinisistar 2 Defilement – What Does It Do
Many players wonder about the "Defilement" mechanism. In Sinisistar 2, defilement directly impacts Lelia's status and gallery unlocks. Accumulating defilement from enemy attacks alters her appearance and unlocks specific Tachie variations. Managing your defilement level is key to either surviving easily or completing the adult gallery content.
How it works: As you take damage from specific enemies (like the swamp leeches or tentacle traps), your defilement meter fills up. Reaching certain thresholds triggers visual changes to Lelia's armor and unlocks exclusive scenes in the gallery. However, high defilement also increases the damage you take from holy-attribute attacks, making areas like the Cathedral significantly harder. You can reduce defilement by praying at the Monastery in Alsezon Town or by consuming rare Purifying Water items found in hidden chests.
FAQ
Is there a full map in Sinisistar 2?
Yes, our guide provides a complete Sinisistar 2 map including Alsezon Town, Blood-Drinking Swamp, Demi-human Base, and Alsezon Cathedral.
How many areas does Sinisistar 2 have?
Sinisistar 2 features 8 distinct areas, from the starting town through the graveyards, swamps, demi-human lairs, and finally the Cathedral.
Where is the final boss in Sinisistar 2?
The final boss, the Outer One, is located at the Cathedral Spire. You must navigate through the Cathedral Library and Treasury to reach it.